
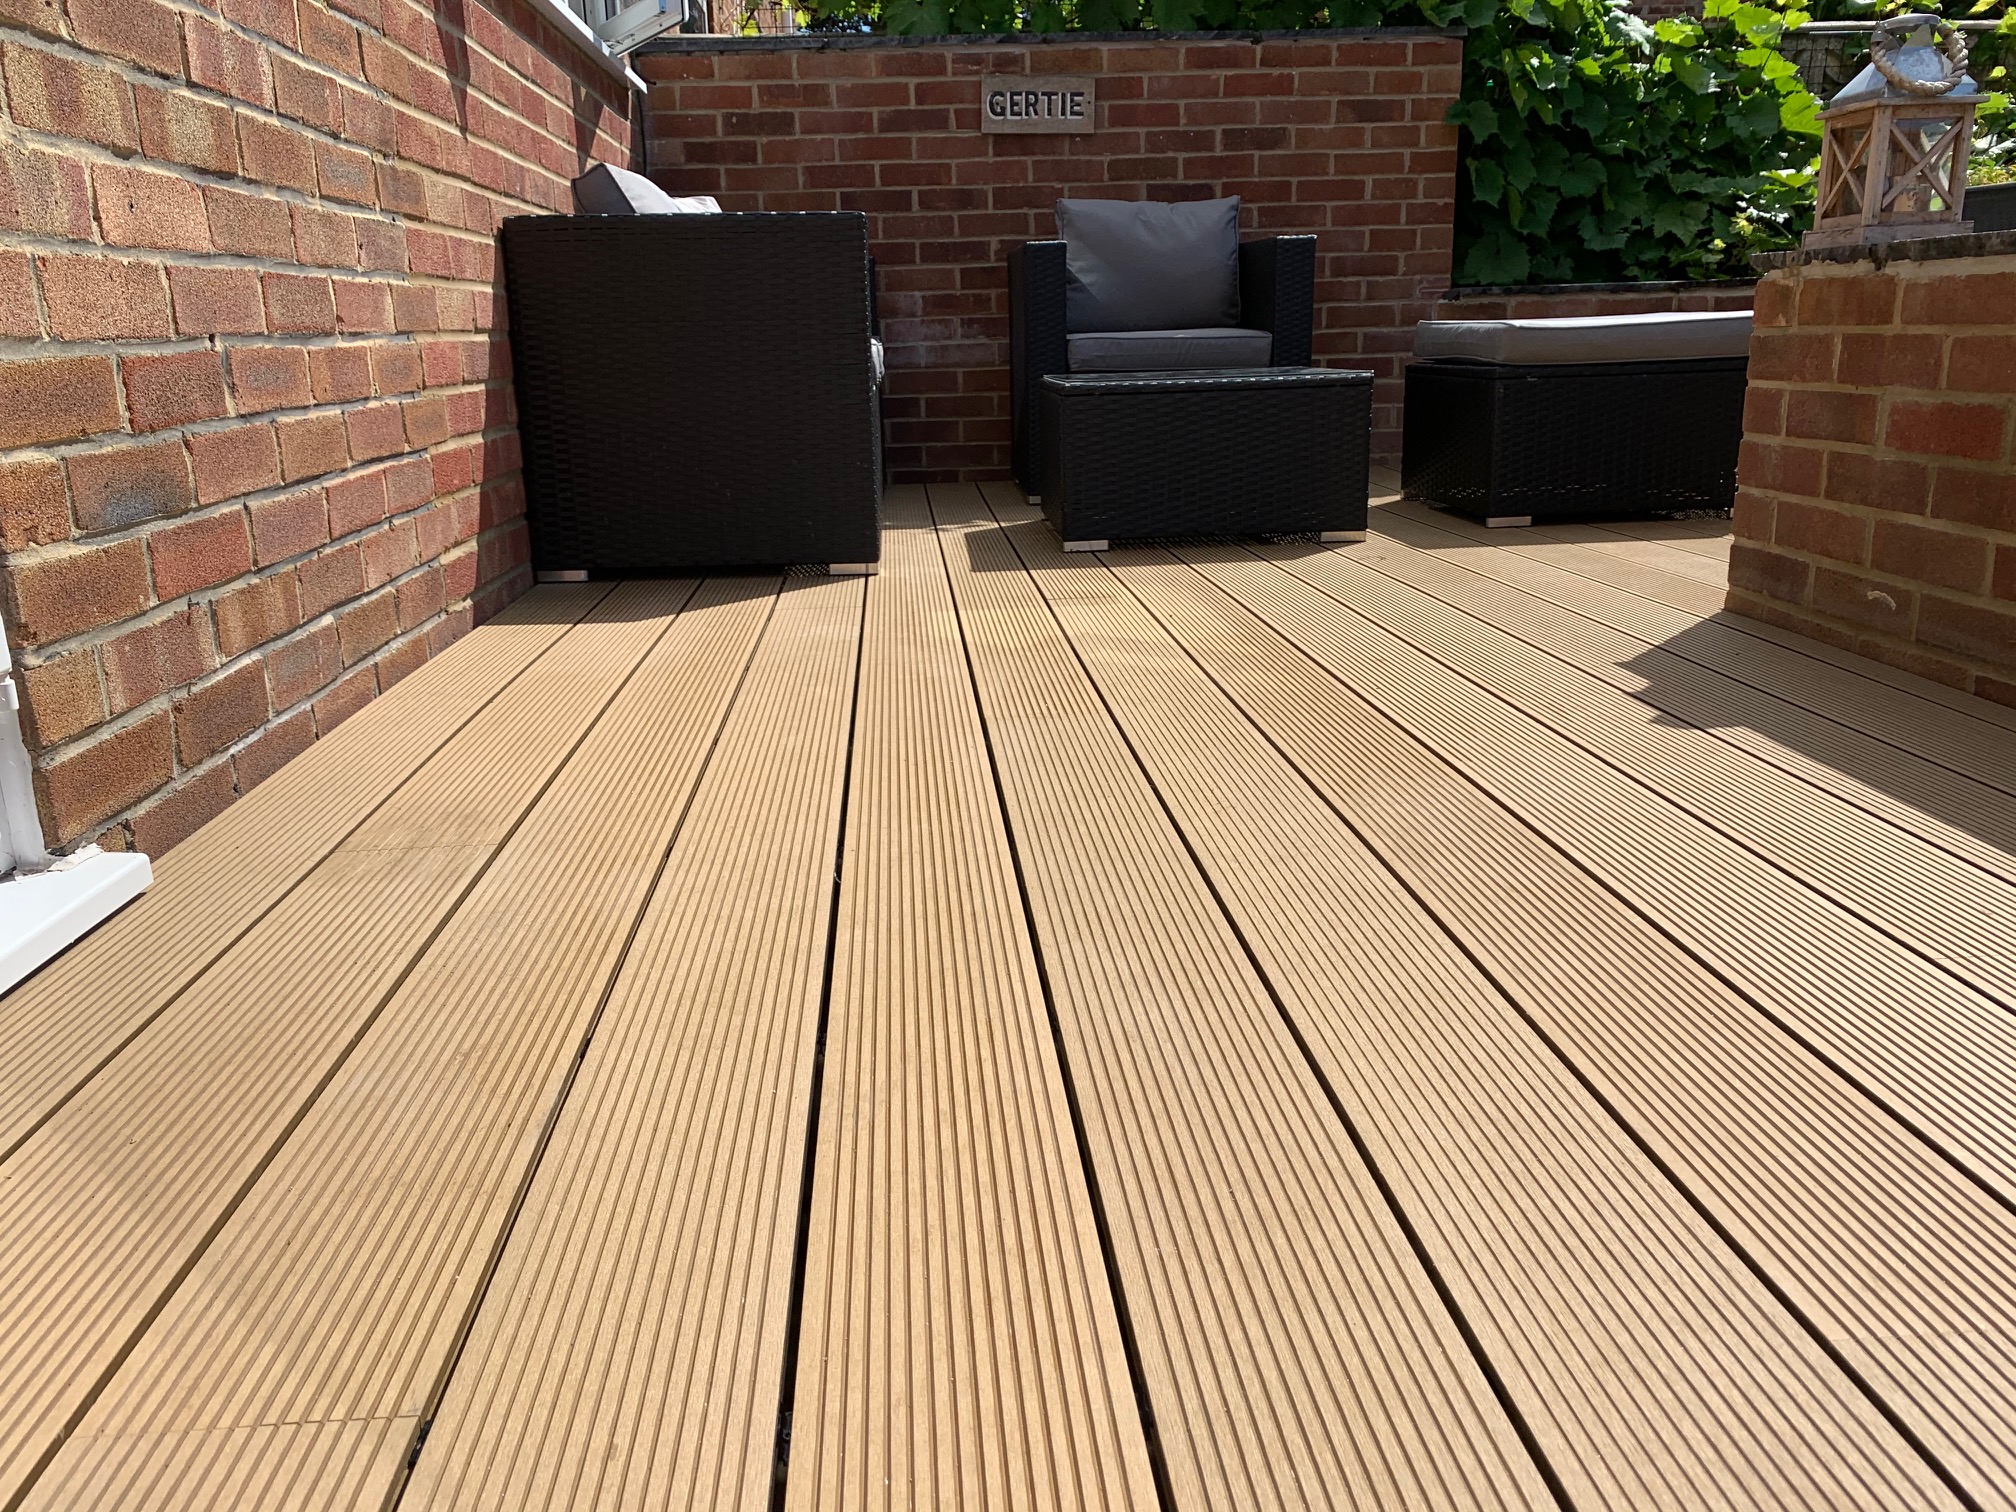
Laying the perfect decking can transform your outdoor space into a stunning oasis for relaxation and entertainment. Rinato decking boards, with their blend of durability, low maintenance, and environmental friendliness, are an excellent choice for homeowners looking to elevate their gardens or patios. This guide provides essential tips and tricks for installing Rinato decking boards, ensuring a smooth process from start to finish.
Planning Your Space
Before you begin, it’s crucial to plan your decking area carefully. Consider the size, shape, and function of your space. Do you envision a cosy corner for intimate gatherings or a sprawling deck for large parties? Understanding your needs will help you determine the quantity of Rinato decking boards required and the layout that best suits your outdoor area.
Preparing the Foundation
A solid foundation is key to a long-lasting deck. Clear the designated area of any debris, weeds, or stones. If laying the decking over grass or soil, installing a weed barrier can prevent unwanted growth beneath the decking. Ensure the ground is level; slight slopes for water drainage are beneficial but avoid significant inclines that could affect the stability of your deck.
Choosing the Right Substructure
Rinato decking boards can be supported by various substructures, including timber and metal frames. The choice depends on your preference, budget, and environmental considerations. Ensure the substructure is sturdy and treated for outdoor use to prevent rotting (in the case of timber) and rusting (for metal frames).
Leave Room for Expansion
Like many materials, Rinato decking boards may expand slightly in warm weather. It’s important to leave a small gap between each board (usually around 5mm) to accommodate this expansion. This gap also allows water to drain away, preventing pooling on the deck surface.
Securing the Boards
When securing Rinato decking boards to the substructure, special decking screws or hidden fasteners can be used. Hidden fasteners provide a clean, screw-free surface, enhancing the overall aesthetic of your deck. Ensure screws are not overtightened to allow for material movement and avoid damaging the boards.
Finishing Touches
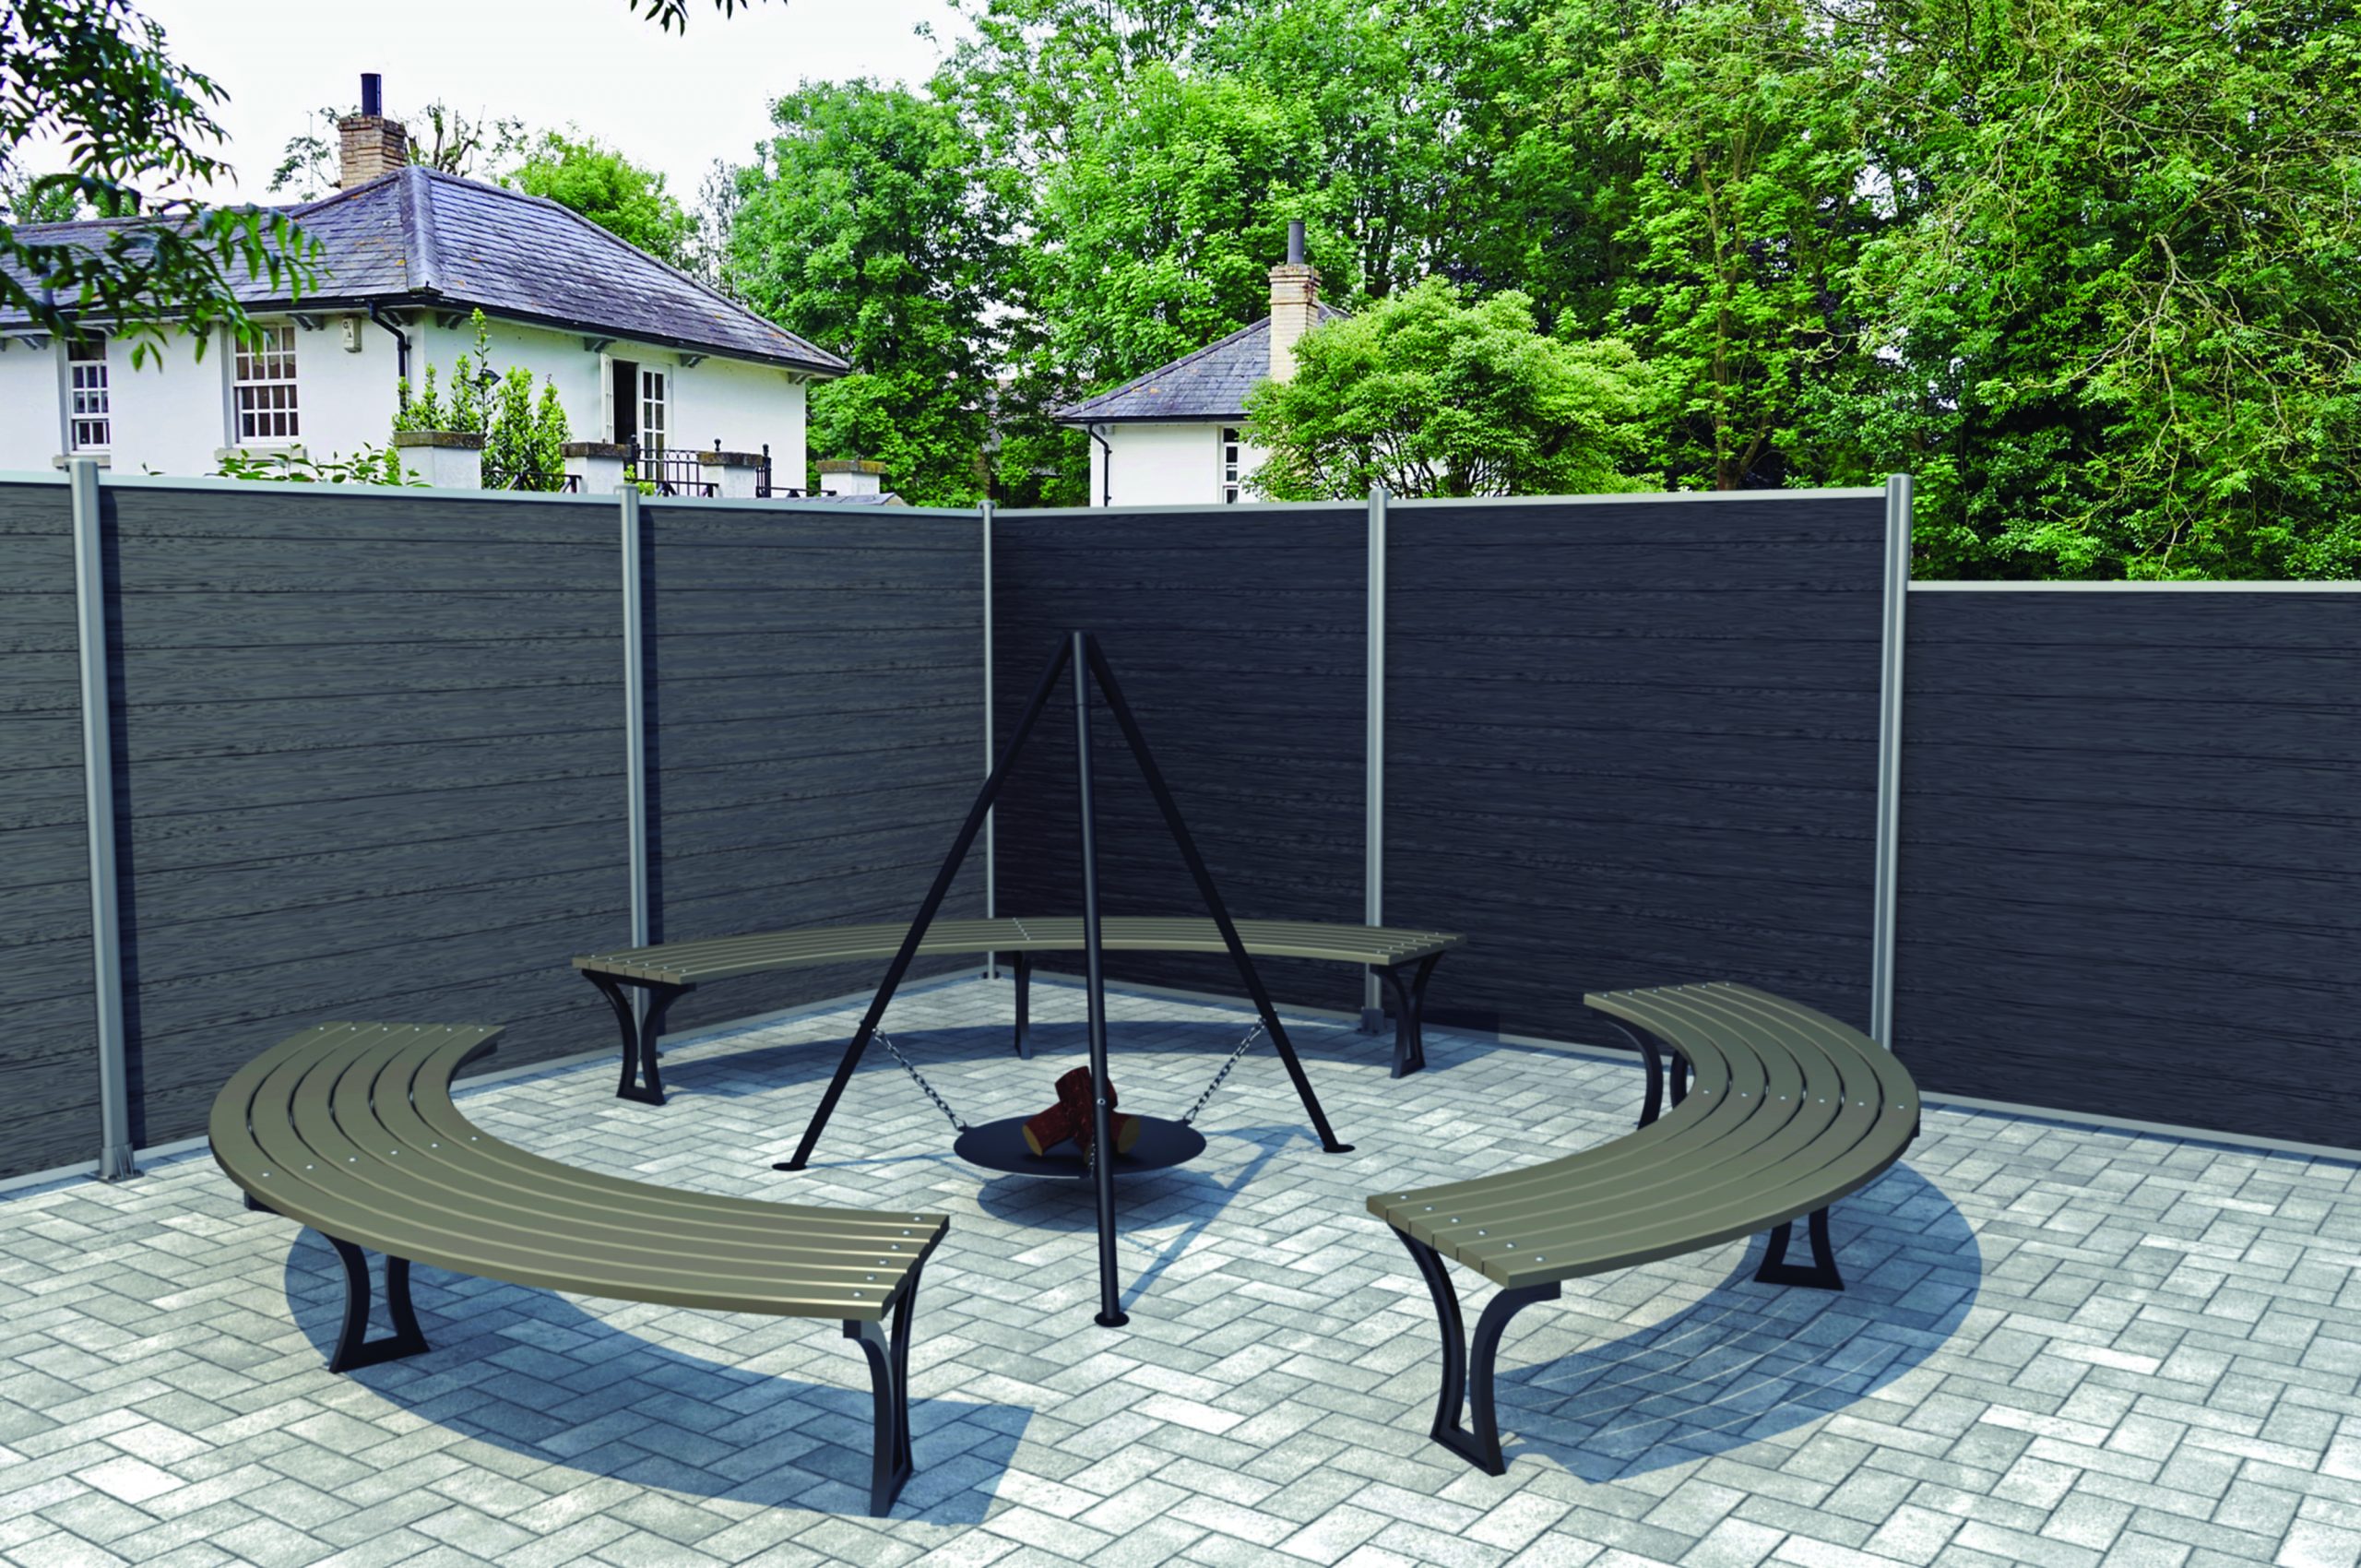
Once all the boards are securely in place, you can add finishing touches to your deck. Trims and fascias can conceal the substructure and edges of the decking, creating a polished look. Accessories like balustrades and lights can further enhance the functionality and ambiance of your outdoor space.
Maintenance Tips
Although Rinato decking requires minimal maintenance, regular cleaning with soap and water will keep your deck looking its best. Avoid harsh chemicals and power washing, which can damage the surface of the boards.
Conclusion
Installing Rinato decking boards can dramatically improve the appearance and usability of your outdoor space. With careful planning, preparation, and attention to detail during the installation process, you can achieve a beautiful and durable deck that will serve as a focal point of your garden or patio for years to come. Follow these tips and tricks to ensure your Rinato decking installation is successful and stress-free.
Remember, investing time and effort into the installation process will pay dividends in the longevity and appearance of your deck. Enjoy the process, and soon you’ll be relaxing on a deck that not only looks fantastic but is built to last.


